Quick Steps: Members > MemberDesq > Edit
The colours and images used in your MemberDesq Portal are completely customisable for your organisation, allowing you to brand your portal to match your logo and colours. This can be updated at any time to reflect changes to information and branding.
1. Within the Management Console, select Members from the top menu, then MemberDesq from the left menu.
2. Click Edit at the top of the page to update your Member Portal.- General tab - Select which Menu Options display on your MemberDesq Portal, and customise the titles of each page (eg. Home Page Title).
- This tab also allows you to select the Theme you would like to use for your Portal. This can be set up in Tools > Themes. For more information on setting up a theme, see Setting up Themes.
- Summary tab - Customise the message that appears on the front page of your MemberDesq Portal. This is the information that displays to both Members and Non-Members.
- Welcome tab - Customise the message that your member receives when they log into the MemberDesq Portal. This message is located in the top left box of the central area. Please note if you leave this area blank, a standard system message will appear.
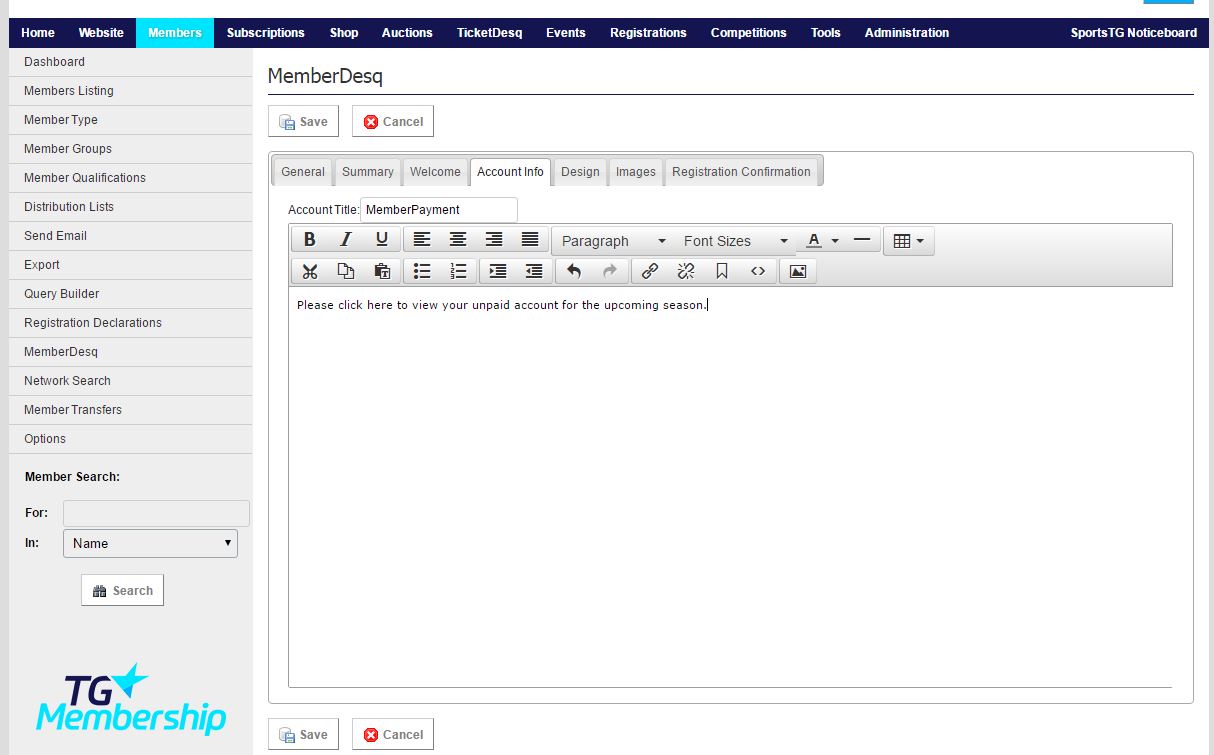
- Account Info tab - Customise the 'Subscriptions' box that displays when a member logs in to the portal to pay off an unpaid transaction. This information will only appear if the member has an unpaid subscription in their account.
 If no custom text is added, it will default to the standard text “Outstanding accounts exist. Click here to view and pay”.
If custom text is inserted, it will display this from the top of the box, followed by the text “Click here to view and pay” linking through to the unpaid transaction. - The Images tab allows you to upload a header, footer and other images for your page.
- The Registration Confirmation tab allows you to customise the confirmation page after payment has been completed.
