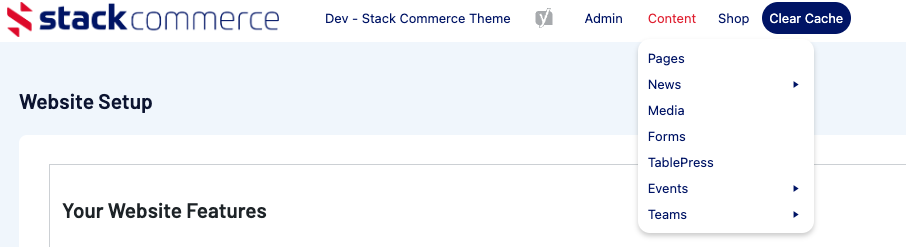
1. Hover over CONTENT.
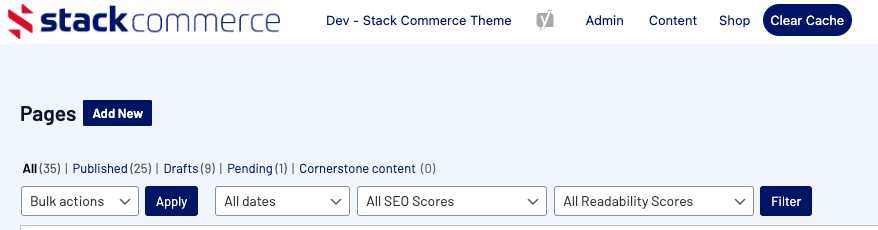
2. Click on PAGES.
3. Click ADD NEW against the PAGES heading.
4. On the right hand side of the page you will see a PAGE ATTRIBUTES menu. Under this menu, select the Default Template from the TEMPLATE drop down list.
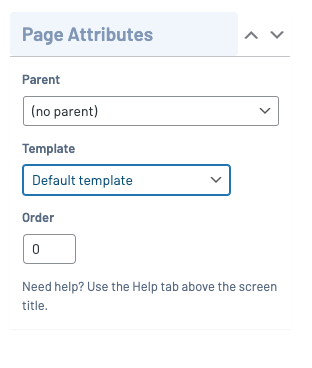
This will automatically adjust the page to display this template. If you have other pages you can nominate a parent page to fit into the menu structure of your site.

5. Add a title for this Page, although it is optional if you want to display that title on the page itself. The area where the title is displayed is called the page banner. You can add an image for the page banner if you wish. (Under 'Your Website Features', you will have set a default colour for the page banner - often this is white - but if you do not select a default colour the page banner background is transparent and you therefore see the site background image under the page title).
Example with an image applied;

Example with transparent page banner showing the site background image.

6. Select any additional sections you would like to display below the custom content of the page. These will display according to the sort order you have set for your home page.
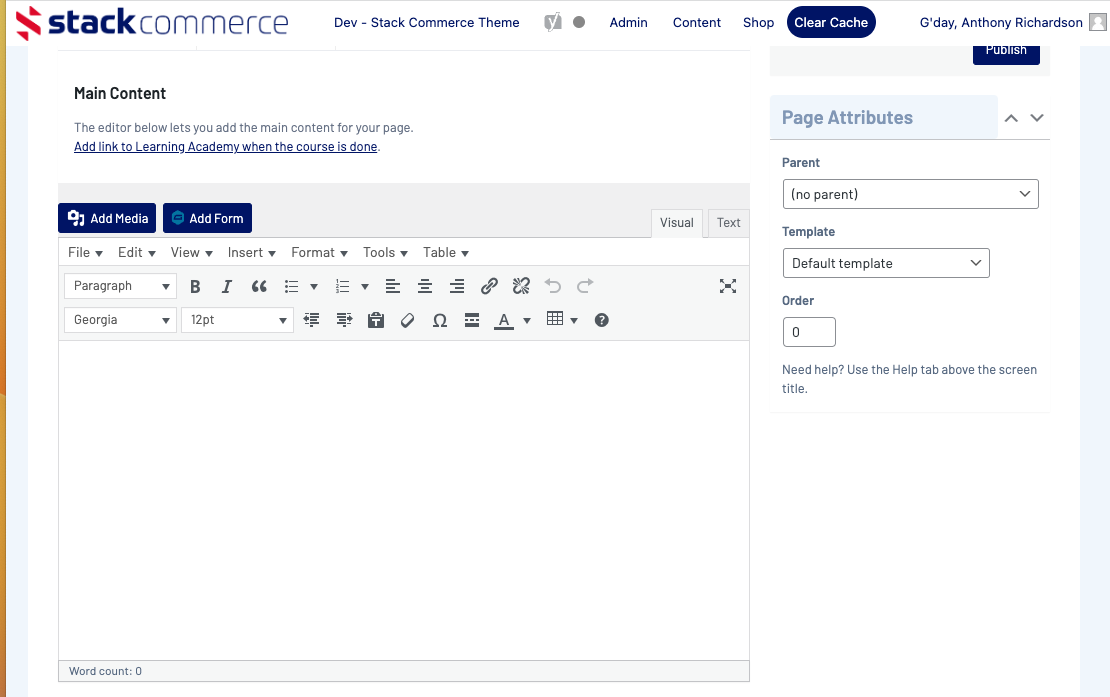
7. Add the custom content using the editor provided.
8. If you wish to view a draft of what changes you have made will look like on the page itself. Click the PREVIEW CHANGES button in the right hand corner.
Your changes don't need to have been saved/published yet to use this preview as it will display anything you currently have on this page.
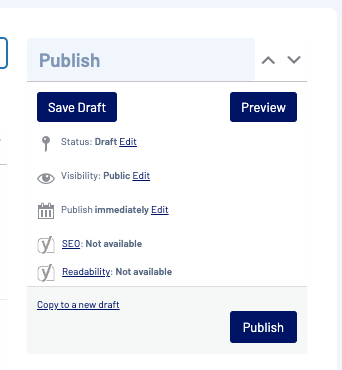
9. When ready to push this page live/save, click UPDATE and make sure the page is set to PUBLISHED status.