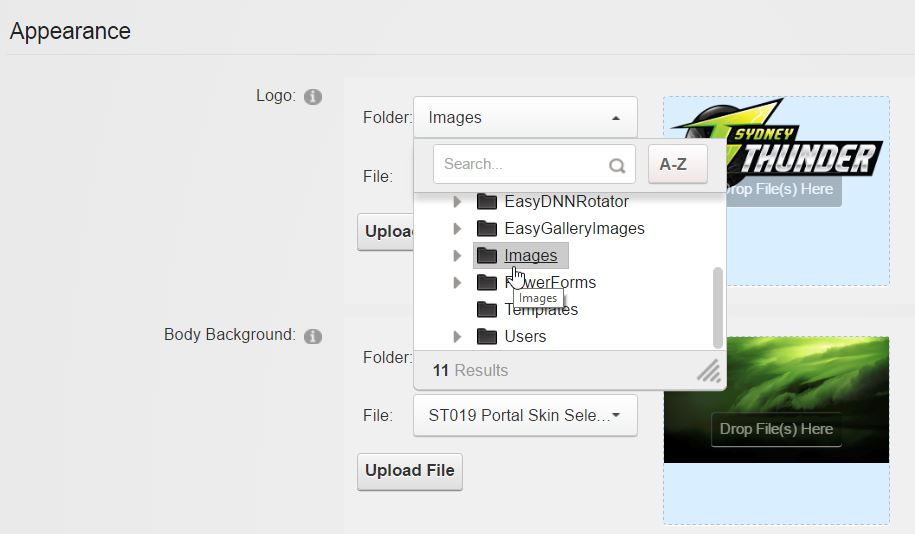
Clients have the ability to update website logo as the following:
A. Update logo from previous uploaded image.
B. Update logo by uploading new image.
C. Update logo using external image URL.
A. Update logo from previous uploaded image.
Step 1: Login to Admin Site.
Step 2: Select “Site Settings” from Admin drop-down list.
 Step 3: Select “Appearance” to enable appearance setting form.
Step 4: Select image folder path from the “Folder” drop-down list at logo section.

Step 5: Select image from the “File” drop-down list at logo section.
Step 6: Select “Update” to save the change
B. Update logo by uploading new image.
Step 1: Login to Admin Site.
Step 2: Select “Site Settings” from Admin drop-down list.
 Step 3: Select “Appearance” to enable appearance setting form.
Step 4: Select “Upload File” at logo section.
Step 5: Select uploading path from “Upload To” drop-down list.
Step 6: Drag image into content area or click the content area to select image from directory.
Step 7: Wait until file uploaded successfully, then select “Close” to close the pop-up window.
Step 8: Select “Update” to save the change.
C. Update logo using external image URL.
Step 1: Login to Admin Site.
Step 2: Select “Site Settings” from Admin drop-down list.
Step 3: Select “Appearance” to enable appearance setting form.
Step 4: Select “Upload File” at logo section.
Step 5: Select uploading path from “Upload To” drop-down list.
Step 6: Select “From Web” tab at the top area.
Step 7: Input the image external image URL into the text field, then select “Upload”.
Step 8: Wait until image uploaded successfully, then select “Close” to close the pop-up window.
Step 9: Select “Update” to save the change.